Design Your Expo Router Tree Before You Write a Single Screen
Your app/ folder is a sitemap. Treat it like one and file-based routing stops fighting you at screen 30.
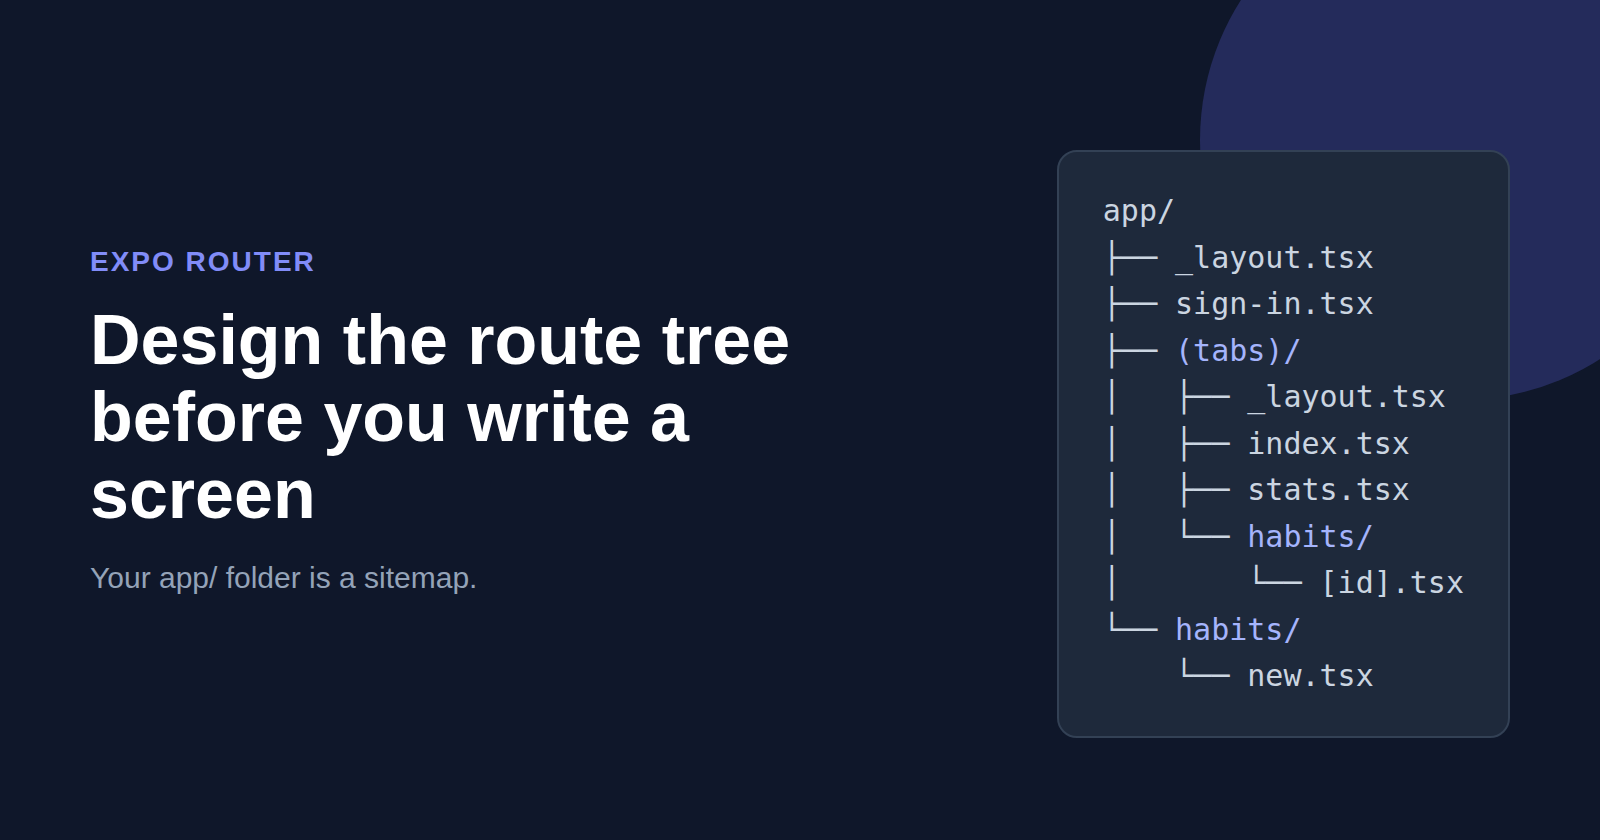
Most Expo Router tutorials start with npx create-expo-app and a single index.tsx. That is fine for screen one. By screen thirty, the same project usually has three index.tsx files nobody can tell apart, a modal that remounts the whole tab bar, and a components/ folder that accidentally became a set of routes.
None of that is a code problem. It is a planning problem.
With file-based routing, the folder tree is the navigation design. Every folder you create is a decision about URLs, layouts, and what gets remounted when a user moves around. So this post skips the "hello world" and walks through a planning-first workflow: sketch the route tree as a sitemap, review it like a design artifact, and only then create files.
In Expo Router,
mkdiris a product decision. Make it on paper first.
Why the tree deserves a design pass
Three properties of Expo Router make the folder structure load-bearing:
| Property | What it means for planning |
|---|---|
| Every file in the routes directory is a route | Helper files placed there become screens (or break the build) |
_layout.tsx files wrap everything below them |
Folder depth decides which navigator, header, and providers a screen inherits |
Route groups (name) organize without adding URL segments |
You can restructure layouts without changing deep links, if you plan for it |
Put together: moving a screen between folders can change its URL, its parent navigator, and its remount behavior in one move. That is exactly the kind of change you want to make on a whiteboard, not in a refactor PR.
Note: newer Expo templates place routes under
src/app/instead ofapp/. The rules are identical. Examples below useapp/for brevity.
Step 1: Write the sitemap as URLs, not screens
Before opening an editor, list every destination in the app as a URL a deep link could point at. Use a fictional habit-tracking app as the running example:
/                     -> home feed (today's habits)
/habits               -> all habits
/habits/:id           -> habit detail
/habits/:id/edit      -> edit habit (modal)
/habits/new           -> create habit (modal)
/stats                -> weekly stats
/settings             -> settings
/settings/account     -> account details
/sign-in              -> sign in
/onboarding           -> first-run flow
This list forces three useful questions early:
Which of these must be deep-linkable? A push notification or email link will point at
/habits/:id, so that URL needs to be stable for the life of the app.Which are modals?
newandeditpresent over the current context; they should not live inside the tab navigator's stack.Which are gated?
sign-inandonboardingare only reachable in certain states.
If a screen cannot be expressed as a URL, it probably is not a route. It is a component, a sheet, or a step inside another screen.
Step 2: Group by navigator, not by feature
The most common structural mistake is grouping folders by feature (habits/, stats/, settings/) at the top level and then trying to bolt a tab bar on top. Expo Router wants you to group by which navigator owns the screen.
Map the sitemap onto navigators:
app/
├── _layout.tsx              # Root Stack: owns modals + gating
├── +not-found.tsx
├── sign-in.tsx
├── onboarding.tsx
├── (tabs)/
│   ├── _layout.tsx          # Tabs navigator
│   ├── index.tsx            # /
│   ├── stats.tsx            # /stats
│   ├── habits/
│   │   ├── _layout.tsx      # Stack inside the Habits tab
│   │   ├── index.tsx        # /habits
│   │   └── [id].tsx         # /habits/:id
│   └── settings/
│       ├── _layout.tsx
│       ├── index.tsx        # /settings
│       └── account.tsx      # /settings/account
└── habits/
    ├── new.tsx              # /habits/new  (modal, root stack)
    └── [id]/
        └── edit.tsx         # /habits/:id/edit (modal, root stack)
The (tabs) group adds no URL segment, so /stats stays /stats. The modals live outside the tabs group, as siblings in the root stack, which is what lets them present over the tab bar instead of inside one tab.
Notice that /habits and /habits/new share a URL prefix but live in different folders. That is fine. URLs describe destinations; folders describe navigator ownership. Keep those two ideas separate and most "why does this screen look wrong" bugs disappear.
Step 3: Decide what each layout owns
Write one line per _layout.tsx before you write any of them. If you cannot describe a layout's job in a sentence, it is probably doing two jobs.
| Layout | Owns |
|---|---|
app/_layout.tsx |
Providers, fonts, auth gating, modal presentation |
app/(tabs)/_layout.tsx |
Tab bar, tab icons, badge counts |
app/(tabs)/habits/_layout.tsx |
Header styling for the habits stack |
app/(tabs)/settings/_layout.tsx |
Header styling for settings |
Here is the root layout that matches that plan. Modals are declared with a presentation option, and gated screens use protected routes:
// app/_layout.tsx
import { Stack } from 'expo-router';
import { useSession } from '@/lib/session';

export default function RootLayout() {
  const { isSignedIn, hasOnboarded } = useSession();

  return (
    <Stack screenOptions={{ headerShown: false }}>
      <Stack.Protected guard={!isSignedIn}>
        <Stack.Screen name="sign-in" />
      </Stack.Protected>

      <Stack.Protected guard={isSignedIn && !hasOnboarded}>
        <Stack.Screen name="onboarding" />
      </Stack.Protected>

      <Stack.Protected guard={isSignedIn && hasOnboarded}>
        <Stack.Screen name="(tabs)" />
        <Stack.Screen name="habits/new" options={{ presentation: 'modal' }} />
        <Stack.Screen name="habits/[id]/edit" options={{ presentation: 'modal' }} />
      </Stack.Protected>
    </Stack>
  );
}
Two planning notes on this file:
Gating lives in one place. Because the guards sit in the root layout, you never sprinkle redirect logic across individual screens.
A screen can only belong to one active group at a time. If you catch yourself wanting the same screen in two guarded blocks, that is a sign the sitemap in Step 1 needs another URL, not a clever workaround.
One sentence per layout. If you need two, you need two layouts.
Step 4: Plan dynamic segments and their params
Dynamic routes like [id].tsx are where URLs meet data. Every param arrives as a string (or string array), so decide up front what shape each one has and validate it at the boundary.
// app/(tabs)/habits/[id].tsx
import { useLocalSearchParams, Redirect } from 'expo-router';
import { HabitDetail } from '@/features/habits/HabitDetail';

export default function HabitScreen() {
  const { id } = useLocalSearchParams<{ id: string }>();

  // Deep links can carry anything. Validate before you fetch.
  if (!id || !/^[a-z0-9-]+$/i.test(id)) {
    return <Redirect href="/habits" />;
  }

  return <HabitDetail habitId={id} />;
}
Notice the route file is thin. It reads the param, validates it, and hands off to a feature component. That keeps the routes directory a map and nothing more, which brings us to the next rule.
If you are planning the screens themselves at this stage, this is a good point to prototype them. RapidNative turns a prompt, sketch, or PRD into React Native and Expo screens, so you can paste your sitemap from Step 1 in as context and get the UI scaffolded around the structure you already decided on.
Step 5: Keep everything that is not a route out of the routes directory
The routes directory should contain three kinds of files: screens, layouts, and special files like +not-found.tsx. Everything else lives elsewhere.
app/                # routes only
features/
  habits/
    HabitDetail.tsx
    HabitCard.tsx
    useHabit.ts
  stats/
components/         # shared UI primitives
lib/                # session, api client, storage
This split pays off in three ways:
No accidental routes. A
HabitCard.tsxdropped intoapp/(tabs)/habits/becomes a navigable screen. Outside the routes directory, it cannot.Cheap restructures. If you later move habits out of tabs, you move a handful of thin route files. The feature code does not move at all.
Readable reviews. A diff that touches
app/is a navigation change. A diff that touchesfeatures/is a UI or logic change. Reviewers know which hat to wear.
Step 6: Review the tree before you commit to it
Treat the folder sketch like any other design artifact and run it through a short review. These are the checks worth doing on paper:
| Check | Question to ask |
|---|---|
| Index ambiguity | Do we have multiple index.tsx files? Is each one obviously tied to its folder? |
| Modal placement | Are all modals siblings in the root stack, not nested inside a tab? |
| Remount risk | If we move this screen to another group later, will its layout ancestry change and remount state? |
| Deep link stability | Are the URLs a notification or email will point at unlikely to change? |
| Gating | Is every protected screen covered by exactly one guard in one layout? |
| Not found | Is there a +not-found.tsx so broken links land somewhere useful? |
Then turn on typed routes so the compiler enforces the tree you just designed. With typed routes enabled, a typo in an href becomes a type error instead of a blank screen in production. Check the Expo docs for your SDK version to see whether it is on by default or needs a config flag.
import { Link } from 'expo-router';

// Typed: autocompletes valid paths, flags invalid ones.
<Link href={{ pathname: '/habits/[id]', params: { id: habit.id } }}>
  {habit.name}
</Link>
A typed route tree is a design spec the compiler can read.
Step 7: Test deep links against the sitemap
Your Step 1 list doubles as a test plan. Before shipping, open every URL from that list on a device or simulator and confirm it lands on the right screen with the right navigator around it:
# iOS simulator
npx uri-scheme open "myapp://habits/abc-123" --ios

# Android emulator
npx uri-scheme open "myapp://habits/abc-123/edit" --android
Pay attention to two things: whether the modal screens present as modals when opened cold from a link, and whether gated URLs redirect cleanly when signed out. Those are the two cases a planning mistake usually shows up in first.
Once the tree is stable and every link resolves, the remaining work is getting the build through review. If you would rather not wrangle signing, store listings, and submission yourself, RapidNative Deploy handles the App Store and Play Store submission side.
A planning template you can copy
Paste this into your PRD or project README and fill it in before creating the routes directory:
## Route plan

### Sitemap (URLs)
- / :
- /... :

### Navigators
- Root stack owns: (modals, gating, providers)
- Tabs: (list tabs)
- Nested stacks: (which tabs have their own stack)

### Modals (root stack siblings)
-

### Gated groups
- Signed out:
- Signed in, not onboarded:
- Signed in:

### Deep links that must stay stable
-
Teams that already work from a PRD can hand this section straight to an AI builder. In RapidNative, including the route plan alongside the feature description gives the generated screens a structure to fit into, instead of leaving navigation as something to untangle later.
Wrapping up
File-based routing does not remove navigation design; it moves it into the file system, where it is easy to change casually and expensive to change late. The workflow that holds up:
Write the sitemap as URLs.
Group folders by navigator, not by feature.
Give every layout one job.
Keep route files thin and validate params at the boundary.
Keep non-route code out of the routes directory.
Review the tree like a design artifact, then lock it in with typed routes.
Test every URL in the sitemap as a deep link.
Do the first three on paper and the rest mostly takes care of itself. What does your route tree look like at screen thirty? Share the structure in the comments.